Introduction
Welcome to a comprehensive guide on how to can the delicious and vibrant bala baiana recipe. Originating from Bahia, Brazil, this traditional dish is a celebration of the region's flavors and cultural heritage. Canning is an excellent preservation method for bala baiana, allowing you to enjoy the authentic taste and textures of this dish for an extended period. In this article, we will explore the benefits of canning bala baiana, provide tips on selecting the perfect ingredients, and guide you through the step-by-step process of canning this flavorful recipe. So, let's dive in and learn how to preserve the flavors of Bahia with the bala baiana canning technique.
The Benefits of Canning Bala Baiana
Canning bala baiana offers several advantages that make this preservation method worthwhile. Firstly, canning allows you to retain the authentic flavors and textures of the dish. The process of canning helps to lock in the vibrant colors, fragrant aromas, and complex flavors of the fruits and vegetables used in bala baiana. By canning, you can capture the essence of Bahian cuisine and savor it throughout the year.
Another benefit of canning bala baiana is the extended shelf life it provides. Canned bala baiana can be stored for up to a year, ensuring that you can enjoy this delightful dish even when the ingredients are out of season. This is especially advantageous if you live in an area where it is challenging to find the traditional ingredients used in bala baiana year-round.
Convenience and accessibility are also significant advantages of canning bala baiana. Once you have your jars of bala baiana ready, you can easily incorporate it into various dishes, from appetizers to main courses and even desserts. Having bala baiana readily available in your pantry allows you to add a burst of flavor to your meals effortlessly. Whether you want to create a traditional Bahian feast or add a touch of Brazil to your everyday cooking, canned bala baiana is a fantastic ingredient to have on hand.
Selecting the Perfect Ingredients
To create the best bala baiana, it is crucial to start with fresh and high-quality ingredients. The success of this recipe lies in the natural flavors of the fruits and vegetables used, so it is essential to choose ingredients at their peak ripeness. Here are some key ingredients for bala baiana and their roles in the recipe:
Malagueta peppers: These small, fiery peppers are a quintessential ingredient in bala baiana, providing the dish with its signature heat. Look for fresh malagueta peppers or opt for dried ones if fresh ones are not available.
Onions and garlic: These aromatic alliums add depth and savory flavors to the bala baiana mixture. Make sure to choose fresh onions and garlic for the best taste.
Tomatoes: Ripe and juicy tomatoes provide a tangy and slightly sweet flavor to bala baiana. Look for tomatoes that are firm yet yielding to the touch.
Bell peppers: Colorful bell peppers add sweetness and crunch to the dish. Choose peppers that are firm and free from blemishes.
Vinegar: Vinegar acts as a natural preservative in the bala baiana recipe. Opt for a good quality vinegar, such as white vinegar or apple cider vinegar, to enhance the flavors.
When sourcing ingredients for bala baiana, it is ideal to use authentic Bahian ingredients whenever possible. If you don't have access to specialty stores that carry these ingredients, consider looking for online suppliers that specialize in Brazilian and Latin American foods. This ensures that you can capture the true essence of Bahian cuisine in your bala baiana.
The Bala Baiana Recipe: Step-by-Step Guide to Canning
Now that you have gathered all the necessary ingredients, let's dive into the step-by-step process of canning bala baiana. This guide will walk you through each stage, from preparing the ingredients to processing the filled jars.
Step 1: Preparing the Ingredients
Before you begin cooking, ensure that all your ingredients are clean and properly chopped. Here's what you need to do:
Cleaning and chopping the fruits and vegetables: Wash the tomatoes, bell peppers, onions, and garlic thoroughly. Remove the stems from the tomatoes and bell peppers, and dice them into small pieces. Finely chop the onions and mince the garlic.
Measuring the spices and seasonings: Measure out the malagueta peppers, vinegar, salt, sugar, and any other spices or seasonings you plan to use in your bala baiana. Having everything measured and ready to go will make the cooking process much smoother.
Step 2: Cooking the Bala Baiana Mixture
Once your ingredients are prepped, it's time to cook the bala baiana mixture. Follow these steps:
Combining the ingredients in a large pot: In a large pot, combine the diced tomatoes, bell peppers, onions, minced garlic, malagueta peppers, vinegar, salt, sugar, and any other spices or seasonings. Mix everything well to ensure that the flavors are evenly distributed.
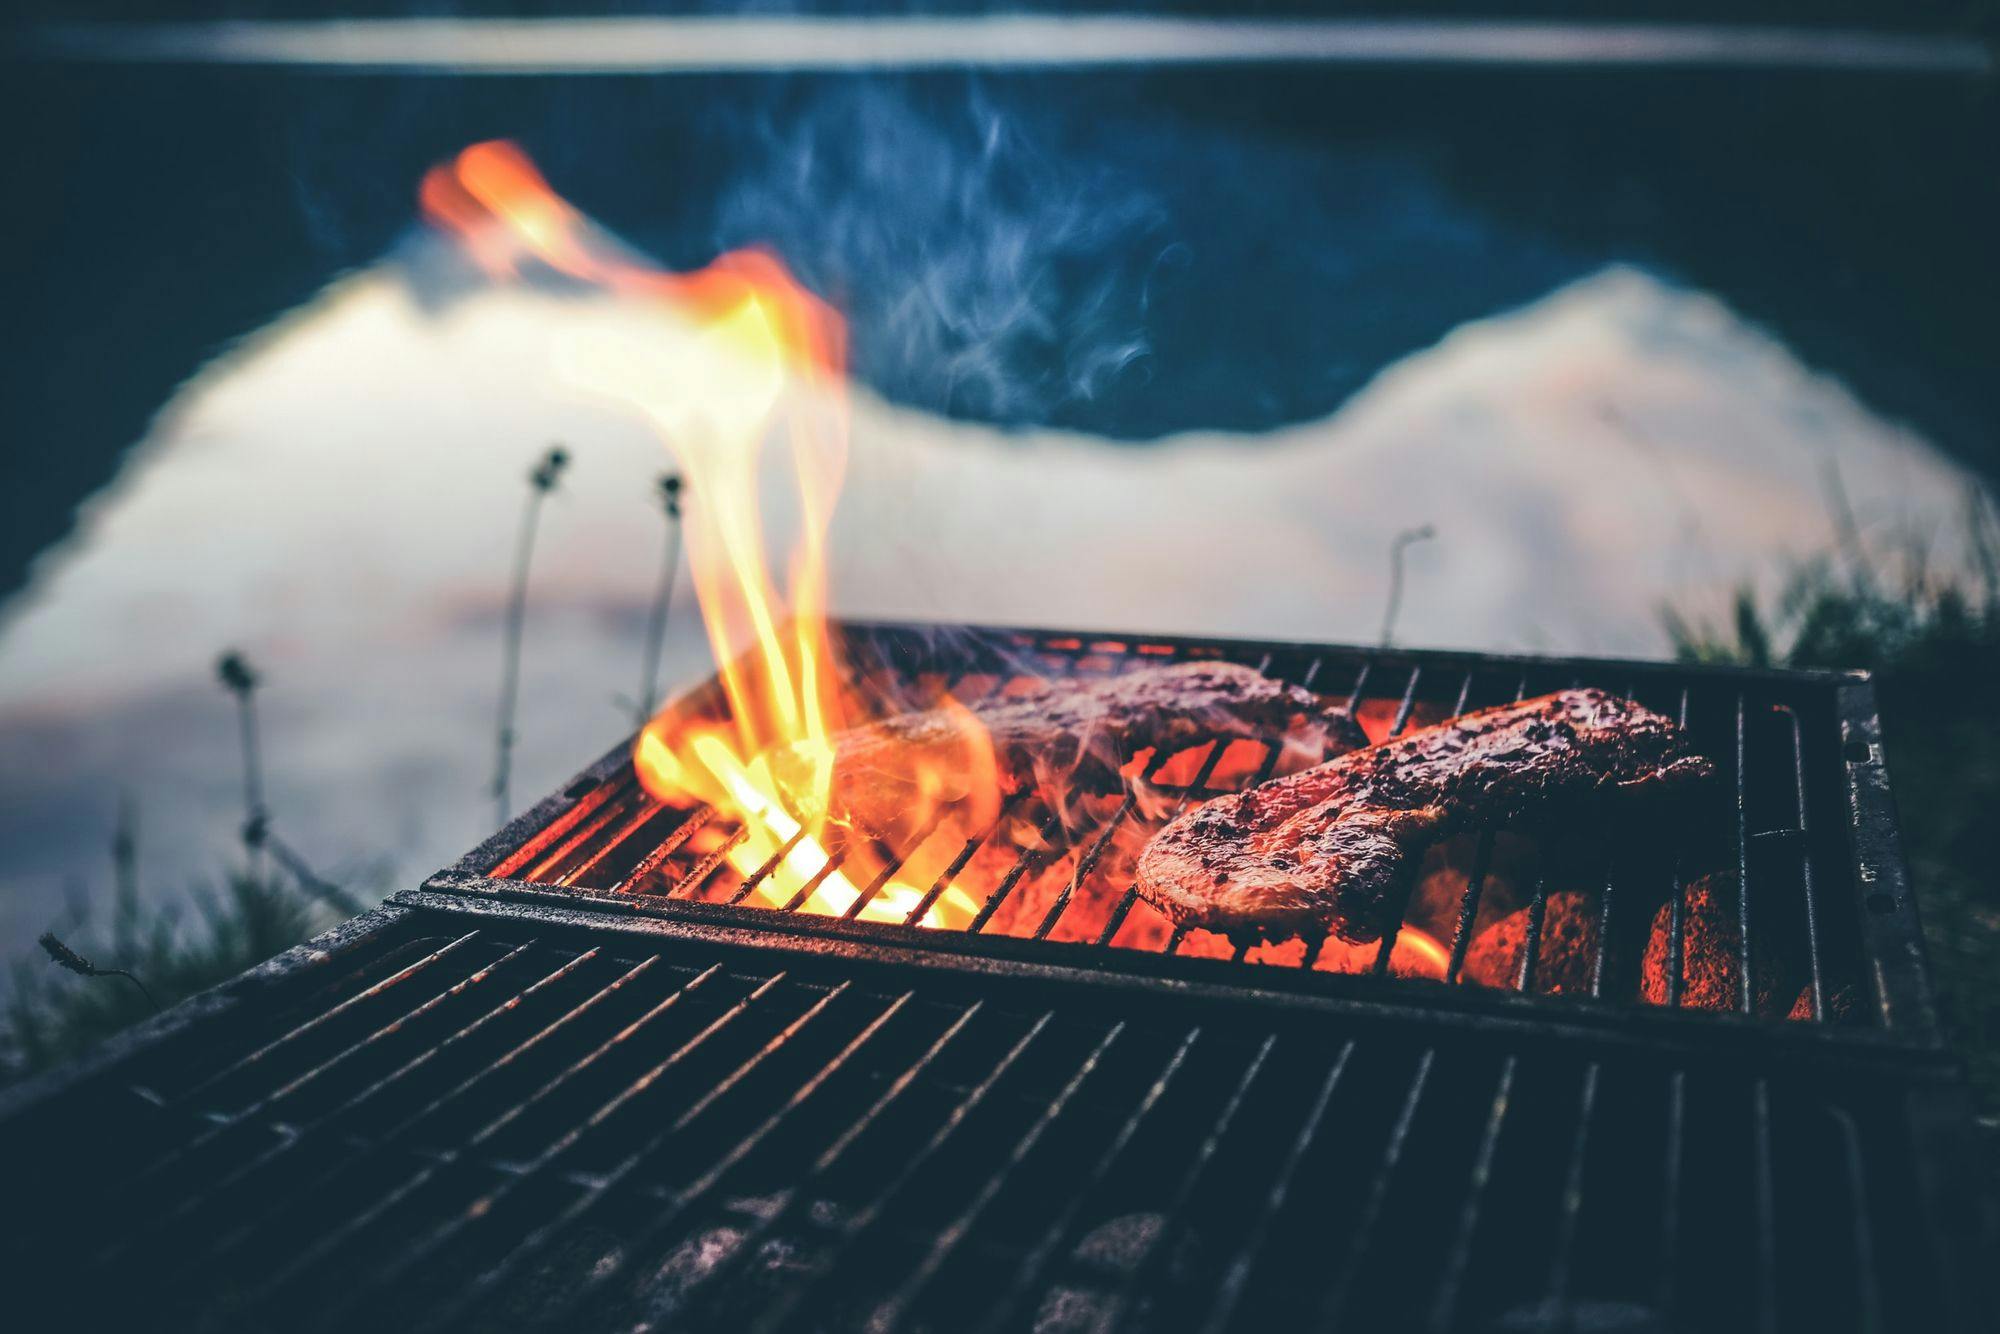
Simmering the mixture to develop flavors: Place the pot over medium heat and bring the mixture to a simmer. Allow it to cook for about 30 to 40 minutes, stirring occasionally. This will allow the flavors to meld together and develop a rich and vibrant taste.
Adjusting the seasoning to taste: After simmering, taste the bala baiana mixture and adjust the seasoning as needed. You can add more salt, sugar, or spices according to your preference. Remember that the flavors will continue to develop as the mixture cools, so it's okay if it tastes slightly tangy or spicy at this stage.
Step 3: Sterilizing the Canning Jars and Lids
To ensure the safety and longevity of your canned bala baiana, it is crucial to sterilize the canning jars and lids. Here's how you can do it:
Explaining the importance of sterilization for food safety: Sterilizing the canning jars and lids helps to kill any bacteria or microorganisms that may cause spoilage or foodborne illnesses. It is an essential step in the canning process to ensure the safety of your preserved bala baiana.
Methods for sterilizing jars and lids: There are a few methods you can use to sterilize your canning jars and lids. One common method is to wash them with hot, soapy water and rinse them thoroughly. Then, place the jars and lids in a large pot filled with water and bring it to a boil. Let them boil for 10 minutes to ensure proper sterilization. Alternatively, you can also use a dishwasher with a hot setting to clean the jars and lids.
Step 4: Filling and Sealing the Jars
With your bala baiana mixture cooked and your jars sterilized, it's time to fill and seal the jars properly. Follow these steps:
Properly filling the jars with the bala baiana mixture: Using a ladle or a large spoon, carefully fill each sterilized jar with the bala baiana mixture, leaving about 1/2 inch of headspace at the top. This headspace is necessary to allow for expansion during the canning process.
Ensuring airtight seals for long-term preservation: Wipe the rims of the jars with a clean, damp cloth to remove any residue. Place the lids on the jars and screw the bands on tightly, but not too tight. This will create an airtight seal that is necessary for long-term preservation of the bala baiana.
Step 5: Processing the Filled Jars
The final step in canning bala baiana is to process the filled jars to ensure their safety and longevity. Depending on your preferred canning method, there are two options:
Water bath canning: Water bath canning is suitable for high-acid foods like bala baiana. To water bath can your filled jars, place them in a large pot filled with boiling water, making sure that the jars are completely submerged. Process the jars for about 10 to 15 minutes, adjusting the processing time according to your altitude. Once processed, carefully remove the jars from the pot and let them cool on a clean towel or cooling rack. You should hear the lids "pop" as they seal.
Pressure canning: If you prefer to use a pressure canner, you can also process your filled jars using this method. Follow the manufacturer's instructions for your specific pressure canner to ensure proper

About Erika Oliver
Erika Oliver is a passionate writer, community advocate, and culinary enthusiast dedicated to bringing people together through the art of barbecue and neighborhood connections. With a profound love for both food and community, Erika has become an influential voice in promoting the joy of gathering around the grill and fostering a sense of belonging among neighbors.