Introduction
Are you tired of the same old camping meals? Do you find yourself longing for something more flavorful and exciting while out in the great outdoors? Look no further than Blackstone camping recipes. These recipes will take your camping meals to a whole new level, providing you with mouthwatering flavors and unforgettable dining experiences. In this article, we will dive deep into the world of Blackstone camping recipes, exploring the benefits of canning, selecting the perfect ingredients, and providing you with a step-by-step guide to creating your own delicious canned goods. Get ready to unleash the flavors of the wilderness!
The Benefits of Canning
Before we jump into the world of Blackstone camping recipes, let's take a moment to appreciate the art of canning and the benefits it brings to your camping meals. Canning is a process that preserves the freshness and flavor of food for extended periods of time. By sealing your ingredients in a jar, you lock in all the deliciousness, ensuring that each bite is as tasty as the day you canned it. This is particularly useful when you're out in the wilderness, as it allows you to enjoy fresh and flavorful meals, even days or weeks into your camping trip.
Convenience is another major advantage of canning. When you're camping, you want your meals to be easy to prepare and transport. Canned goods are incredibly portable, making them perfect for camping trips. Simply pack your jars into a cooler or backpack, and you're ready to go. No need to worry about delicate ingredients or refrigeration. Canned goods are sturdy and can withstand the rigors of outdoor adventures.
In addition to convenience, canning is also a cost-effective way to enjoy delicious meals while reducing food waste. When you can your own ingredients, you have control over the quality and quantity of what goes into your jars. This means you can take advantage of seasonal produce, buying in bulk and preserving for later use. By canning your own ingredients, you can also reduce food waste, ensuring that nothing goes to waste and everything is enjoyed to its fullest potential.
Lastly, canning allows you to enhance the nutritional value of your camping meals and have greater control over the ingredients you consume. When you can your own ingredients, you can select the freshest and highest quality produce, meats, and seafood. You can also customize your recipes to suit your dietary preferences and restrictions, making it easier to enjoy delicious meals that align with your health goals.
Selecting the Perfect Ingredients
Now that you understand the benefits of canning, let's dive into the world of selecting the perfect ingredients for your Blackstone camping recipes. When it comes to canning, the quality of your ingredients is paramount. Here are a few tips to help you make the best choices:
Choosing fresh and ripe produce: For fruits and vegetables, select produce that is at its peak of freshness and ripeness. This will ensure that your canned goods are bursting with flavor. Avoid overripe or underripe produce, as they may not taste as good once canned.
Opting for high-quality meats and seafood: If you're canning meats or seafood, choose cuts and varieties that are of the highest quality. This will ensure that your canned goods are tender, flavorful, and safe to consume. Avoid using meats or seafood that are past their prime or of questionable quality.
Exploring flavor combinations and seasonal variations: One of the joys of canning is the ability to experiment with different flavors and combinations. Don't be afraid to get creative and try new things. Experiment with herbs, spices, and other seasonings to enhance the flavors of your canned goods. And don't forget to take advantage of seasonal produce and flavors, as they can add a special touch to your Blackstone camping recipes.
Incorporating Blackstone camping recipes into your ingredient selection: Blackstone camping recipes are known for their bold and robust flavors. When selecting ingredients, keep in mind the style of cooking associated with Blackstone griddles. Consider using ingredients like onions, peppers, garlic, and various spices that add depth and richness to your dishes. Blackstone camping recipes are all about elevating the flavors of your meals, so don't be afraid to be adventurous with your ingredient choices.
The Canning Process: A Step-by-Step Guide
Now that you have your ingredients selected, it's time to dive into the canning process itself. Here's a step-by-step guide to help you navigate the world of canning:
Step 1: Sterilizing jars and equipment - Before you start canning, it's essential to ensure that your jars and equipment are clean and sterile. Wash your jars, lids, and rings in hot, soapy water, and rinse them thoroughly. You can also sterilize them by boiling them in a large pot of water for a few minutes. This will remove any bacteria or contaminants, ensuring that your canned goods stay fresh and safe to eat.
Step 2: Preparing the ingredients - Once your jars and equipment are sterilized, it's time to prepare your ingredients. Wash and chop your fruits, vegetables, meats, or seafood, following the instructions provided in your recipe. Make sure all your ingredients are clean and free from any dirt or debris.
Step 3: Filling the jars and adding liquid - Now it's time to fill your jars with the prepared ingredients. Pack them tightly, leaving some headspace at the top. Depending on the recipe, you may need to add a liquid, such as water, broth, or vinegar, to the jars. This will help preserve the ingredients and enhance their flavors.
Step 4: Processing the jars in a water bath or pressure canner - Once your jars are filled, it's time to process them. The method you choose will depend on the type of ingredients you're canning. For high-acid foods like fruits, pickles, and salsa, a water bath canner is sufficient. Simply place the jars in a large pot of boiling water, making sure they are fully submerged, and process for the recommended time. For low-acid foods like meats, seafood, and vegetables, a pressure canner is necessary to ensure safety. Follow the instructions provided with your pressure canner for proper processing times and pressures.
Step 5: Cooling, testing, and storing the canned goods - Once your jars are processed, remove them from the canner and place them on a clean towel or cooling rack. Allow them to cool completely before testing the seals. Press down on the center of each lid to ensure it is concave and does not move. If any lids pop up or move, the jar did not seal properly and should be refrigerated and consumed within a few days. Properly sealed jars can be stored in a cool, dark place for up to a year. Be sure to label your jars with the date and contents for easy identification.
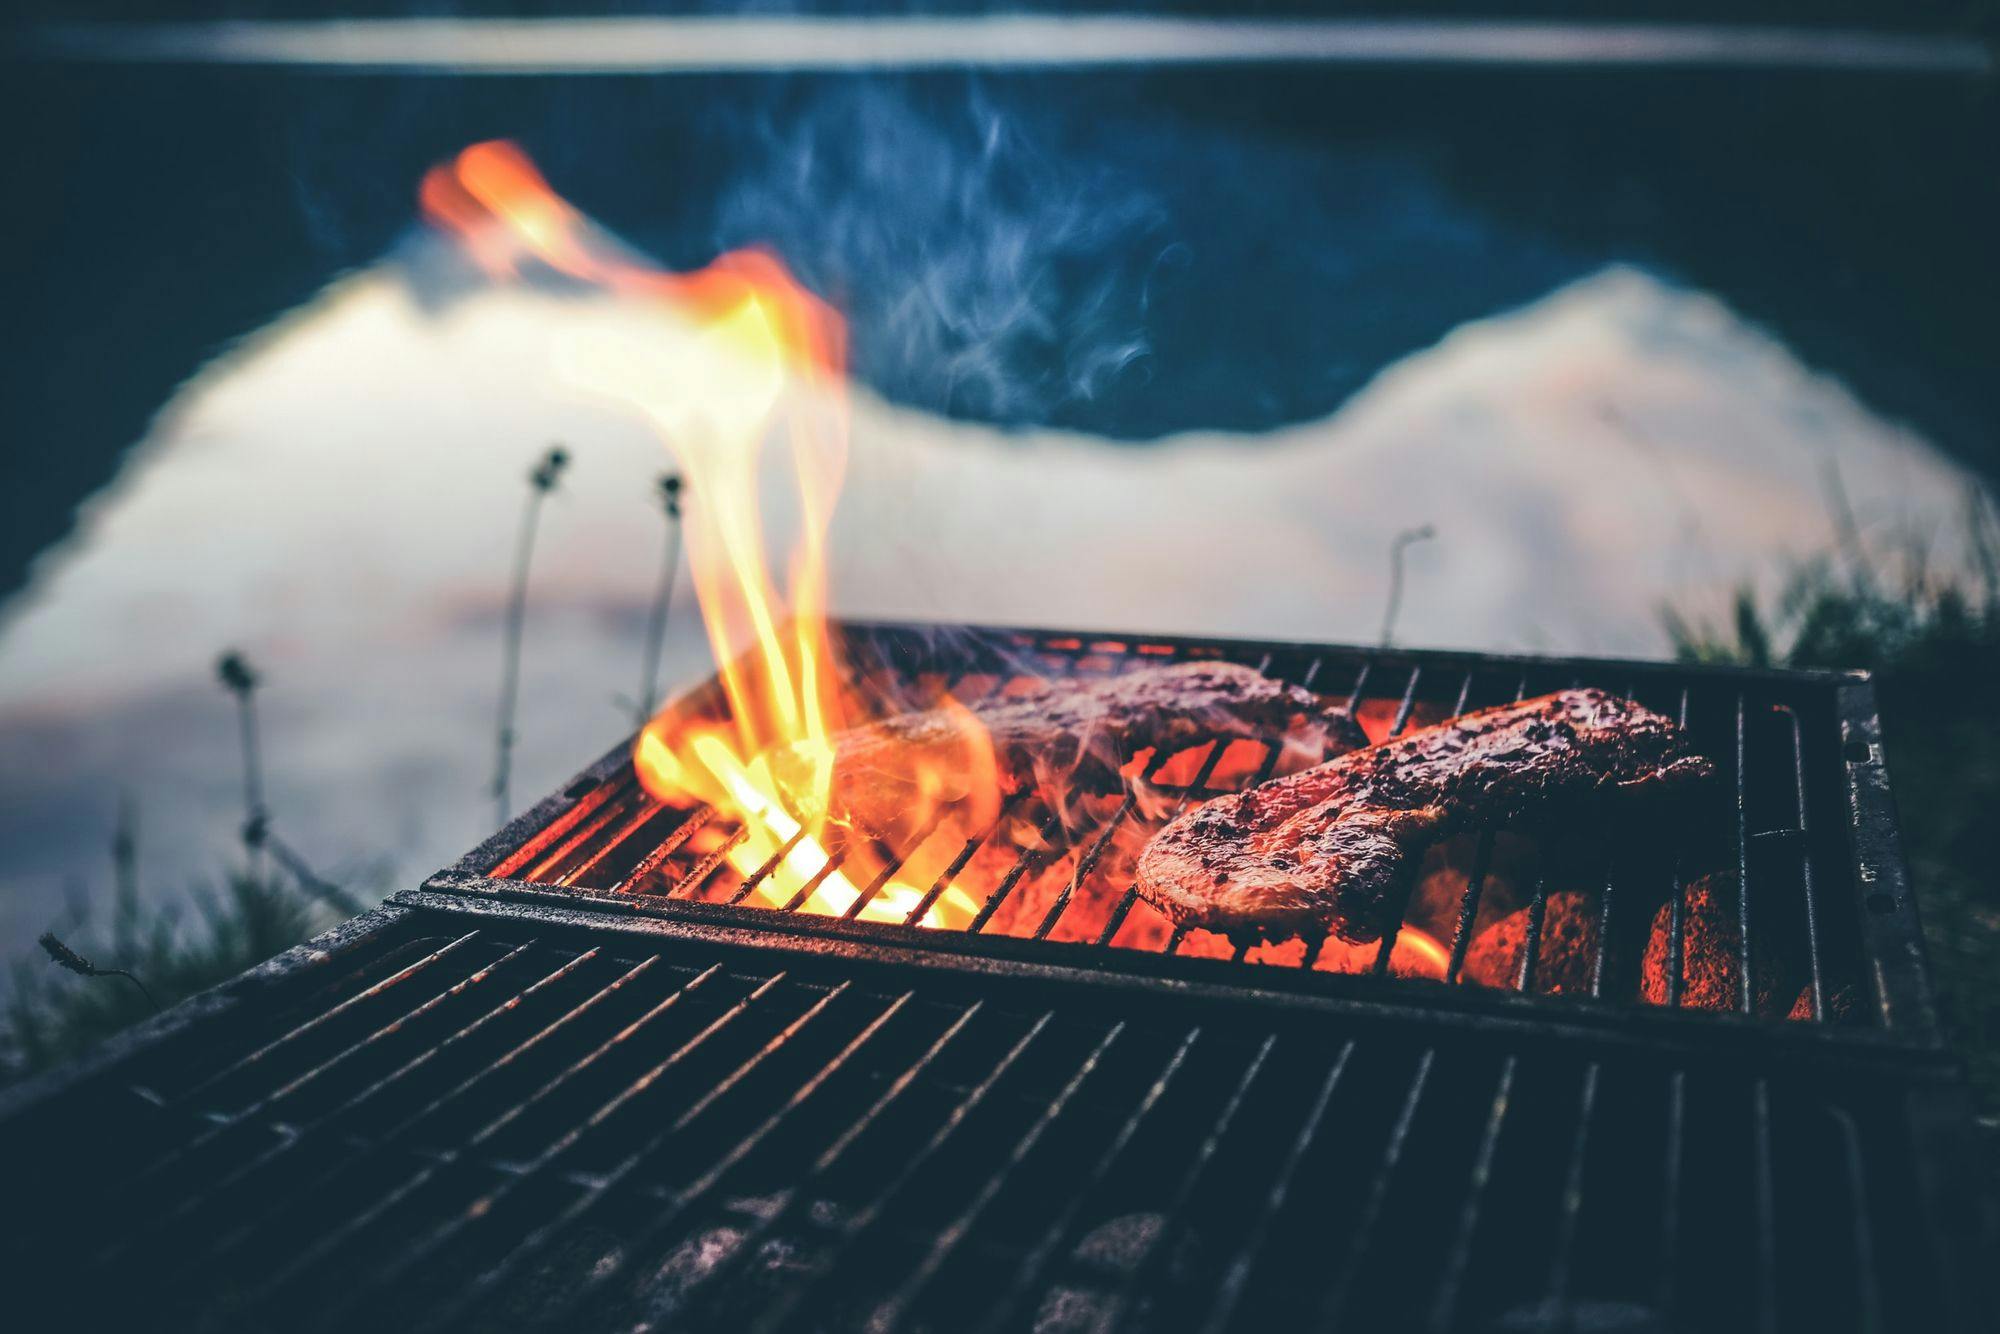
A Delicious Blackstone Camping Recipe: Spicy Campfire Salsa
Now that you have mastered the art of canning, let's dive into a delicious Blackstone camping recipe that will take your camping meals to the next level. Introducing the Spicy Campfire Salsa, a flavor-packed salsa that combines the smokiness of the campfire with the bold flavors of Blackstone cooking.
Ingredients:
- 4 cups tomatoes, chopped
- 1 cup onion, finely diced
- 1 cup bell peppers (red, green, or a mix), finely diced
- 2 jalapeno peppers, seeded and finely diced
- 3 cloves garlic, minced
- 1/4 cup lime juice
- 1/4 cup apple cider vinegar
- 2 tablespoons cilantro, chopped
- 1 tablespoon cumin
- 1 tablespoon smoked paprika
- Salt and pepper to taste
Instructions:
1. In a large bowl, combine the tomatoes, onion, bell peppers, jalapeno peppers, and garlic. Mix well to combine.
In a separate bowl, whisk together the lime juice, apple cider vinegar, cilantro, cumin, smoked paprika, salt, and pepper. Pour the dressing over the tomato mixture and toss to coat evenly.
Transfer the salsa to sterilized jars, leaving 1/2 inch of headspace at the top. Wipe the rims of the jars with a clean, damp cloth to remove any spills or drips.
Place the lids and rings on the jars, tightening the rings until they are just snug. Do not over-tighten.
Process the jars in a water bath canner for 15 minutes. Make sure the jars are fully submerged in boiling water.
Remove the jars from the canner and place them on a clean towel or cooling rack. Allow them to cool completely before testing the seals.
Once the jars are cool, press down on the center of each lid to ensure a proper

About Erika Oliver
Erika Oliver is a passionate writer, community advocate, and culinary enthusiast dedicated to bringing people together through the art of barbecue and neighborhood connections. With a profound love for both food and community, Erika has become an influential voice in promoting the joy of gathering around the grill and fostering a sense of belonging among neighbors.