Introduction
Welcome to the comprehensive guide to the Pioneer Woman London Broil recipe! In this article, we will dive deep into the world of London Broil and explore the nuances of this delicious dish. But before we get started, let's talk about the importance of understanding the canning process.
Canning is a method of preserving food that has been used for centuries. It allows us to extend the shelf life of our favorite foods while preserving their flavors and nutrients. And when it comes to the Pioneer Woman London Broil recipe, canning plays a crucial role in ensuring that the meat stays tender and succulent.
The Benefits of Canning
Canning offers a myriad of benefits that make it a worthwhile endeavor for any home cook. Firstly, it allows us to preserve the flavors of our favorite foods. By sealing the meat in a jar, we can capture all the deliciousness and enjoy it all year round. Whether it's the tangy marinade or the rich juices from the meat, canning helps to lock in those flavors so that they can be savored at any time.
Secondly, canning extends the shelf life of the London Broil. With proper canning techniques, the meat can last up to a year or even longer. This means that you can enjoy the Pioneer Woman London Broil recipe whenever you crave it, without worrying about the meat going bad.
Lastly, canning is a cost-effective and convenient way to preserve food. By buying in bulk and canning the London Broil, you can save money on expensive cuts of meat. It also eliminates the need for constant trips to the grocery store, as you can have a stockpile of delicious London Broil ready to go whenever you need it.
Selection Criteria for London Broil
Now that we understand the benefits of canning, let's talk about the selection criteria for London Broil. London Broil refers to a method of cooking rather than a specific cut of meat. It is typically made using a top round or flank steak, which are lean cuts that are perfect for marinating and grilling.
When choosing the right quality of meat for your London Broil, it's important to look for a well-aged cut. This will ensure that the meat is tender and full of flavor. Additionally, marbling is an important factor to consider. Marbling refers to the fat that is dispersed throughout the meat, which adds moisture and flavor. Look for cuts with good marbling for the best results.
Thickness is also an important consideration when selecting London Broil. Aim for a thickness of around 1 to 1.5 inches. This will allow for even cooking and give you that perfect medium-rare doneness that London Broil is known for.
The Pioneer Woman London Broil Recipe
Now that we have our London Broil selected, it's time to dive into the Pioneer Woman London Broil recipe. Here are the ingredients you will need:
2 pounds of London Broil
1/4 cup of soy sauce
1/4 cup of Worcestershire sauce
2 tablespoons of balsamic vinegar
2 tablespoons of olive oil
2 cloves of garlic, minced
1 teaspoon of dried rosemary
1 teaspoon of dried thyme
Salt and pepper to taste
To begin, combine soy sauce, Worcestershire sauce, balsamic vinegar, olive oil, minced garlic, dried rosemary, dried thyme, salt, and pepper in a bowl. Whisk everything together until well combined.
Next, place the London Broil in a zip-top bag and pour the marinade over the meat. Make sure to coat the meat evenly with the marinade. Seal the bag and refrigerate for at least 4 hours, or overnight for maximum flavor.
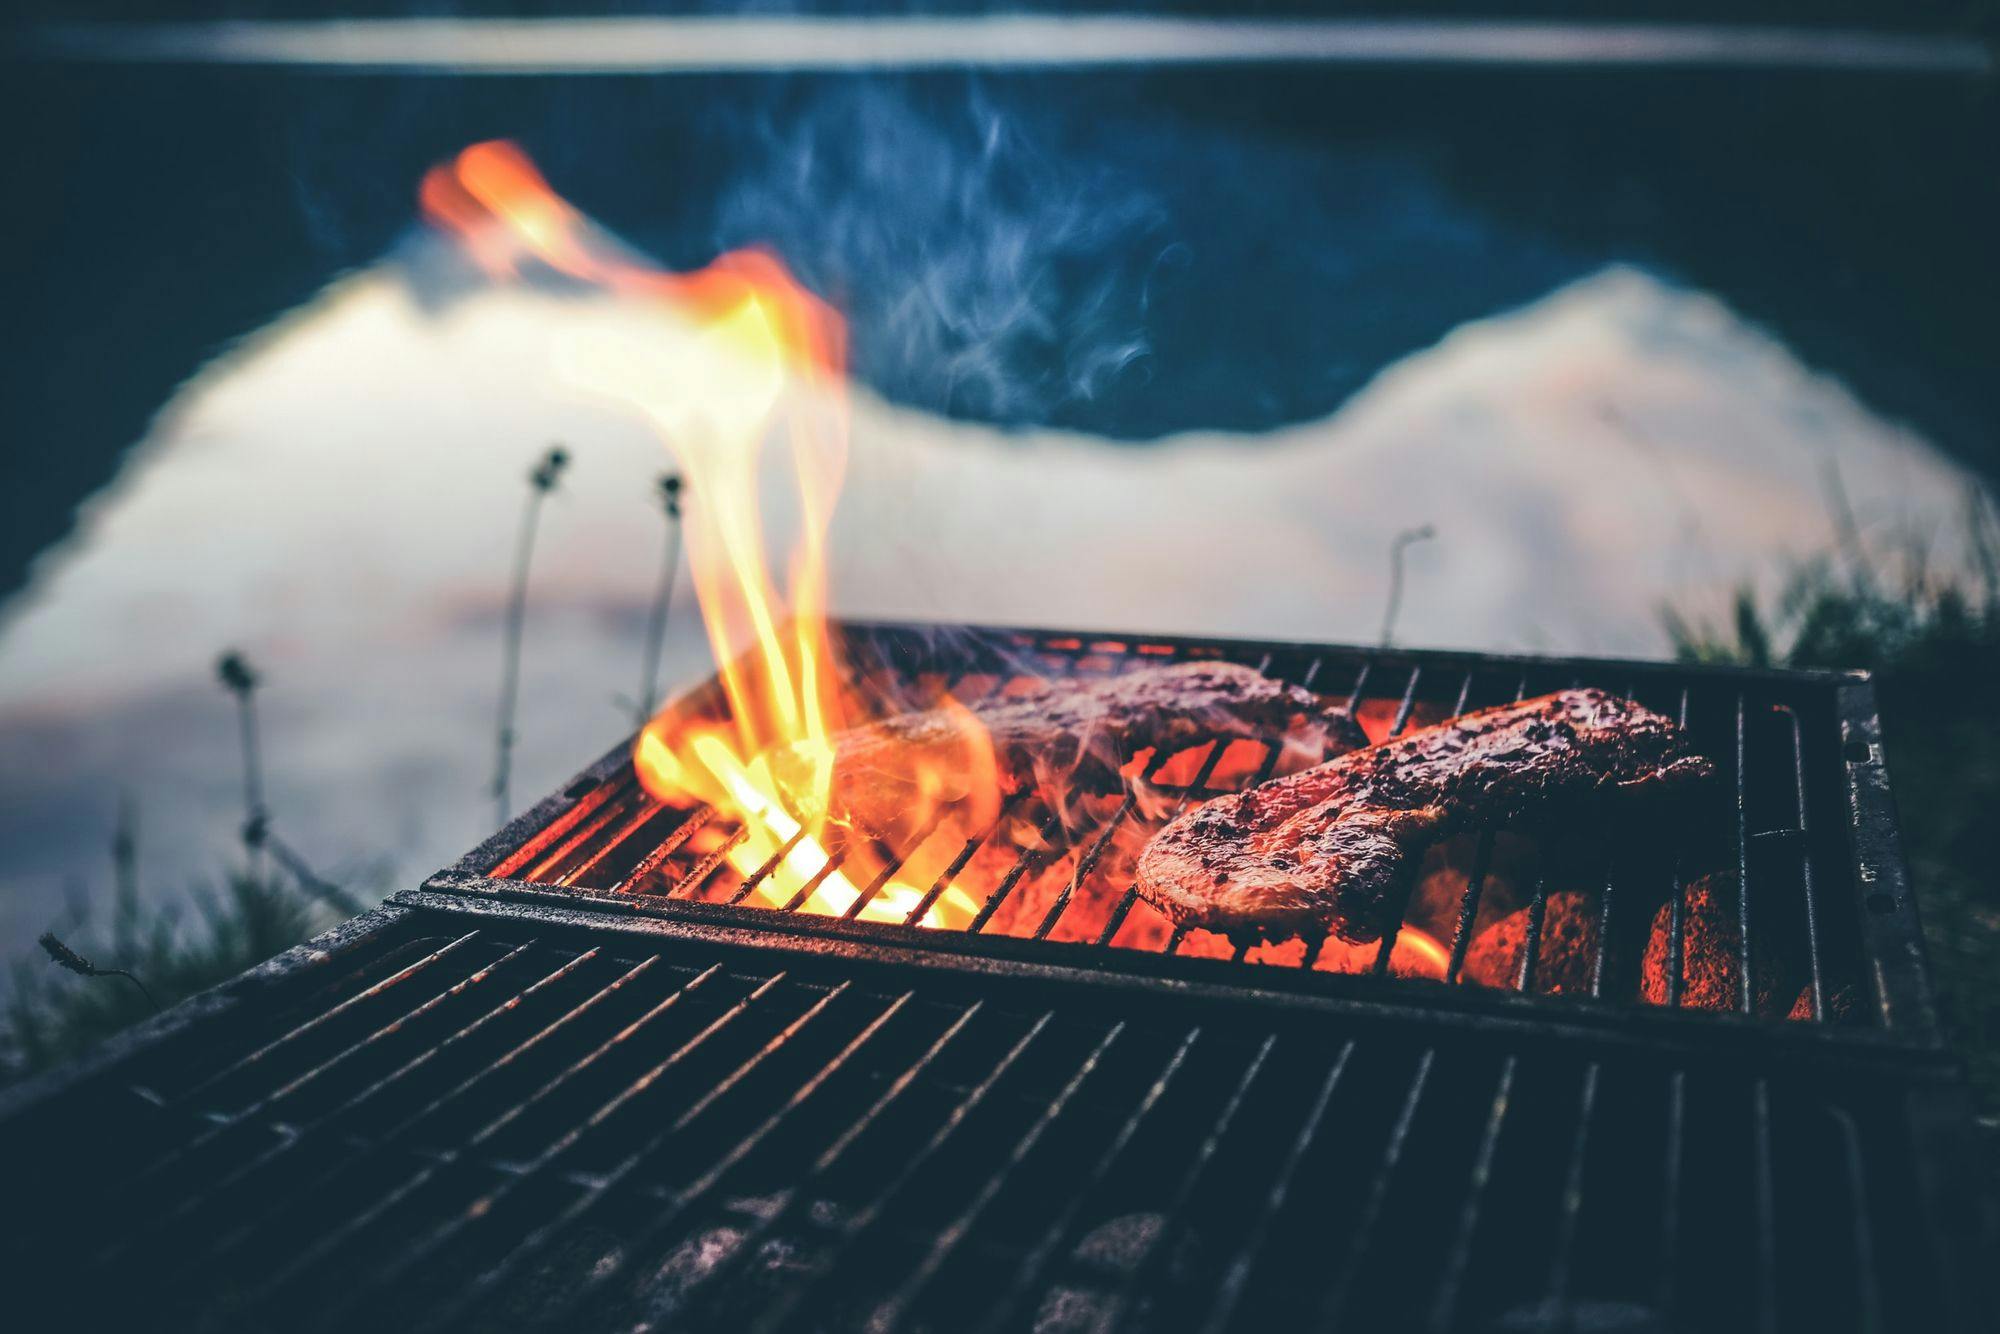
Once the meat has marinated, it's time to cook it. You can choose to grill or broil the London Broil. If grilling, preheat the grill to medium-high heat. Remove the meat from the marinade, allowing any excess marinade to drip off. Grill the London Broil for about 6-7 minutes per side for medium-rare doneness.
If broiling, preheat the broiler and place the London Broil on a broiler pan. Broil the meat for about 5-6 minutes per side for medium-rare doneness.
Remember, cooking times may vary depending on the thickness of the meat and your desired level of doneness. Use a meat thermometer to ensure that the internal temperature reaches 135°F for medium-rare.
Pitfalls to Watch Out For
While the Pioneer Woman London Broil recipe is fairly straightforward, there are a few pitfalls to watch out for. One common mistake is over-marinating the meat. The acid in the marinade can break down the proteins in the meat, resulting in a mushy texture. To avoid this, stick to the recommended marinating time and avoid marinating for longer than necessary.
Another pitfall is overcooking the London Broil, which can result in a tough and chewy texture. Keep a close eye on the meat and use a meat thermometer to ensure that it reaches the desired level of doneness. Remember that the meat will continue to cook slightly after it is removed from the heat, so it's better to slightly undercook it than to overcook it.
Lastly, be mindful of the seasoning and flavor balance. The Pioneer Woman London Broil recipe calls for a flavorful marinade, but it's important not to overpower the natural flavors of the meat. Taste the marinade before adding it to the meat and adjust the seasoning if necessary.
The Canning Process
Now that we have cooked our London Broil to perfection, let's talk about the canning process. Canning involves preserving the meat in jars to extend its shelf life. Here is a step-by-step guide to help you through the canning process:
Start by gathering all the necessary canning equipment, including jars, lids, a canning pot, a jar lifter, and a funnel. It's important to use jars specifically designed for canning, as they are made to withstand the high heat of the canning process.
Before starting the canning process, make sure to properly sterilize the jars and lids. This can be done by placing them in boiling water for a few minutes. This step is crucial to prevent bacterial growth and ensure the safety of your canned London Broil.
Once the jars and lids are sterilized, it's time to fill them with the cooked London Broil. Use a jar lifter and a funnel to make the process easier and safer. Leave about 1 inch of headspace at the top of each jar to allow for expansion during the canning process.
After filling the jars, wipe the rims clean with a damp cloth to ensure a proper seal. Place the lids on the jars and screw on the bands until they are fingertip tight.
Now it's time to process the jars. This can be done using either the water bath canning method or the pressure canning method. The water bath canning method is suitable for high-acid foods, such as the Pioneer Woman London Broil recipe. Simply place the filled jars in a canning pot filled with boiling water and process for the recommended time.
Once the jars have been processed, carefully remove them from the canning pot using the jar lifter. Place them on a towel-lined countertop and allow them to cool completely. As the jars cool, you will hear a satisfying "pop" sound, indicating that they have been properly sealed.
After the jars have cooled, check the seals by pressing down on the center of each lid. If the lid doesn't move, it is properly sealed. If the lid pops up and down, it is not properly sealed and should be refrigerated and consumed within a few days.
Serving Ideas
Now that we have our delicious canned London Broil, let's talk about some serving ideas. The possibilities are endless when it comes to enjoying this flavorful meat. Here are a few suggestions:
Slicing and plating techniques: Slice the canned London Broil thinly against the grain for maximum tenderness. Arrange the slices on a platter and serve as an appetizer or main course.
Pairing suggestions: London Broil pairs well with a variety of side dishes and sauces. Serve it alongside roasted potatoes and grilled vegetables for a hearty meal. Or try it with a creamy horseradish sauce for a tangy and flavorful combination.
Creative recipes: Canned London Broil can be used in a variety of recipes. Try adding it to a salad for a protein-packed meal, or use it as a filling for sandwiches or wraps. The possibilities are endless!
Conclusion
In

About Erika Oliver
Erika Oliver is a passionate writer, community advocate, and culinary enthusiast dedicated to bringing people together through the art of barbecue and neighborhood connections. With a profound love for both food and community, Erika has become an influential voice in promoting the joy of gathering around the grill and fostering a sense of belonging among neighbors.